
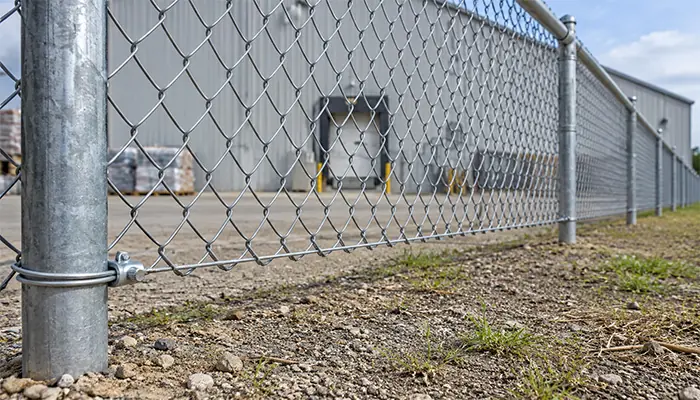
If the bottom of an existing chain link fence lifts or bows when pushed, a bottom tension wire can help hold the mesh in place. Anchor the wire between sound terminal posts, pull it taut, and connect it to the lower edge of the mesh with hog rings. First, check whether the lower edge is loose, the entire mesh has lost tension, or the ground has dropped below an otherwise sound fence. Each problem calls for a different repair.
This guide covers a bottom-wire retrofit for existing fences around warehouses, industrial yards, and other commercial sites. It explains how to assess the fence, select compatible parts, and check the finished work.
What Does Bottom Tension Wire Do on a Chain Link Fence?
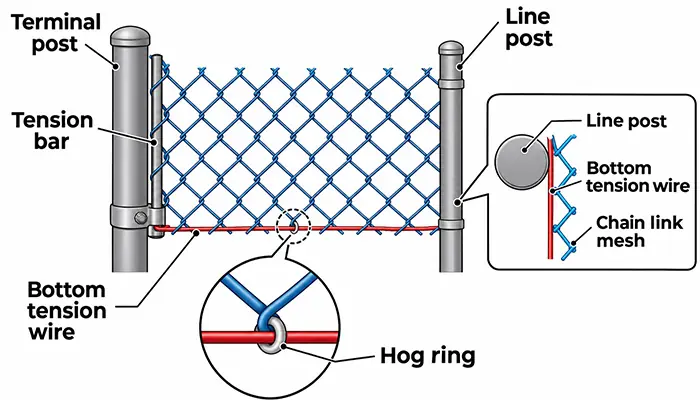
Chain link fence tension wire is a steel wire that runs along the fence between terminal posts. A bottom tension wire restrains the lower edge of the woven mesh, also called chain link fabric. It helps limit how far the mesh can lift or bow outward between posts. A top tension wire, where specified, supports the upper edge of the fabric.
Each fitting has a separate job. Hog rings connect the bottom wire to the mesh. Fence ties secure the mesh to line posts or rails. A tension bar is the vertical bar used with tension bands to secure the end of the fabric to a terminal post in a conventional assembly. The bottom wire carries its own tension between the terminal posts.
Can Your Existing Chain Link Fence Take a Bottom Tension Wire?
Check the Posts, Bracing, and Fittings
Walk the fence and identify the end, corner, and gate posts that anchor each run. Look for leaning posts, loose footings, damaged bracing, severe corrosion, and failed fasteners. Check the lower edge of the mesh for broken strands and the existing bottom wire, if present, for damage. Repair any damaged terminal post, footing, or bracing before applying tension.
Find Out Why the Bottom Is Loose
| What you see | What to do first |
|---|---|
| Only the lower edge lifts when pushed. | Check for missing or broken hog rings, a loose wire, or a missing bottom wire. |
| The fabric sags across much of its height. | Inspect the tension bars, bands, posts, and fabric. Sound fabric may need to be restretched. |
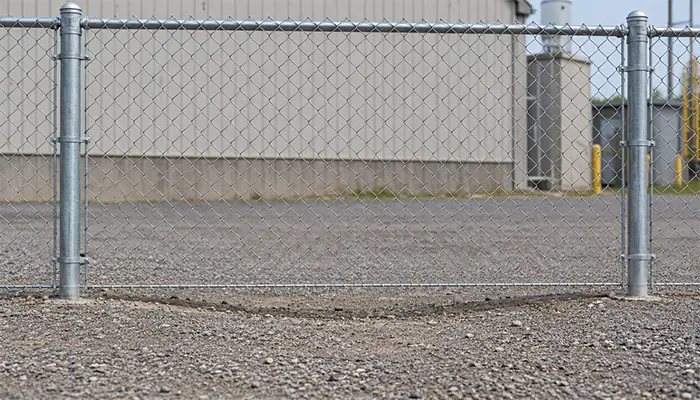
| The mesh is firm, but a gap remains below it. | Measure the clearance and check for erosion, uneven ground, or insufficient mesh height. |
| A terminal post leans or moves. | Inspect and repair the post, bracing, footing, or anchorage before tensioning the wire. |
If the inspection shows that you need to replace a full run or rebuild the fence, see our complete chain link fence installation guide.
Choose Tension Wire and Hardware for Your Existing Fence
Galvanized vs. PVC-Coated Tension Wire
Start with the existing fence finish and the project specification. For a galvanized steel chain link fence, check the specified metallic coating for the tension wire and fittings. For a PVC-coated chain link fence, confirm the required wire coating and color, along with the finish and fit of the rings and fittings.
On the purchase order, list the steel core diameter, the finished outside diameter for coated wire where applicable, the coating, and the length per coil. If the quote uses gauge, ask the supplier to state the actual diameter and clarify whether the gauge refers to the core or the finished wire. This also helps you check that the wire fits the selected grip, tensioner, and rings.
For projects that cite ASTM standards, ASTM F567 covers fence installation. ASTM A824 covers metallic-coated marcelled (wavy) steel tension wire, and ASTM F1664 covers PVC and other conforming organic polymer-coated steel tension wire. Use the editions and requirements cited in the project documents.
Fittings, Fasteners, and Tools
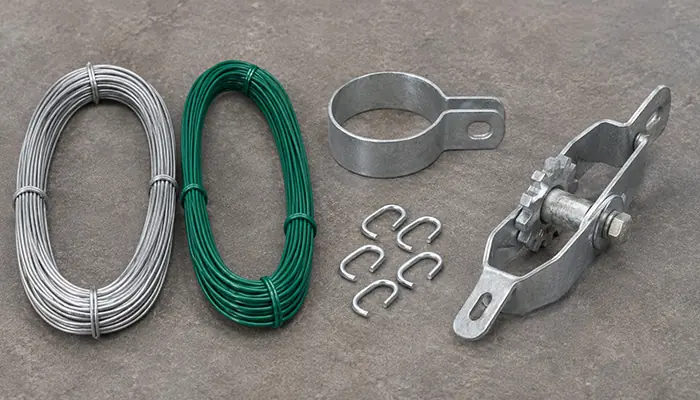
- Materials. Tension wire, terminal fittings sized to the post outside diameter, compatible hog rings, and replacement fence ties where needed. Confirm how the system calls for the wire and fabric to be secured at line posts.
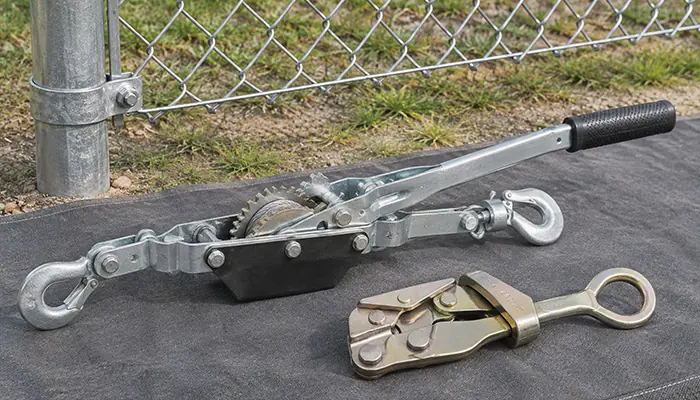
- Tools. A tape measure, level, hog ring pliers, suitable wire cutters, and a wire grip and puller rated for the wire and the load. Wear safety glasses and cut-resistant gloves when handling the wire.
A ratchet wire tensioner, also called a strainer, can stay on the fence where the system allows it. A temporary wire puller is removed after the permanent end connection takes the load. Our chain link fence accessories page shows a ratchet tensioner. Confirm the fit with your wire diameter, coating, and terminal fitting before ordering.
How to Install Bottom Tension Wire on an Existing Chain Link Fence
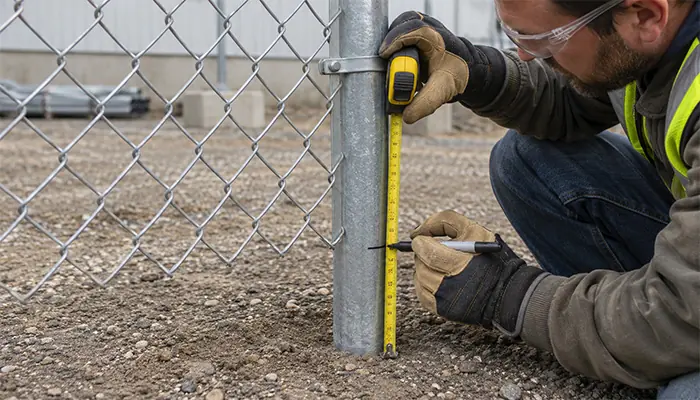
Step 1. Measure Each Run and Mark the Wire Position
Measure each run between the terminal posts that will carry the pull. Allow enough extra wire at both ends for the specified fittings. Mark the wire position near the lower edge of the mesh using the project drawings or system instructions. Check changes in grade before laying out the run, and terminate the wire at gate posts so it stays clear of gate openings.
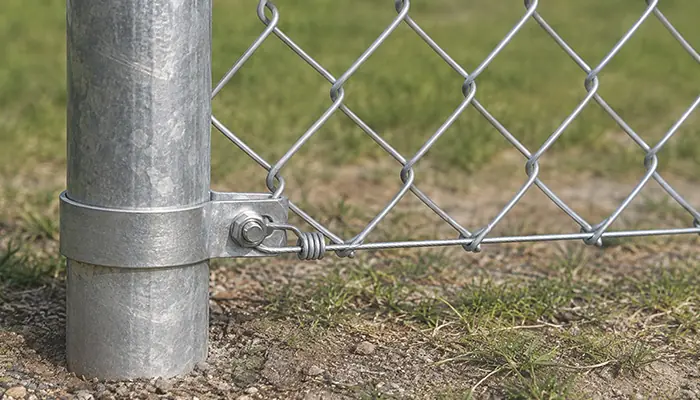
Step 2. Anchor the Wire to the First Terminal Post
Fit the specified anchor to the first terminal post at the marked height. A compatible brace band is one common option for round posts. Secure the wire to the fitting as directed by the hardware supplier. Check that the fitting is seated and the wire end is secure before applying any pull.
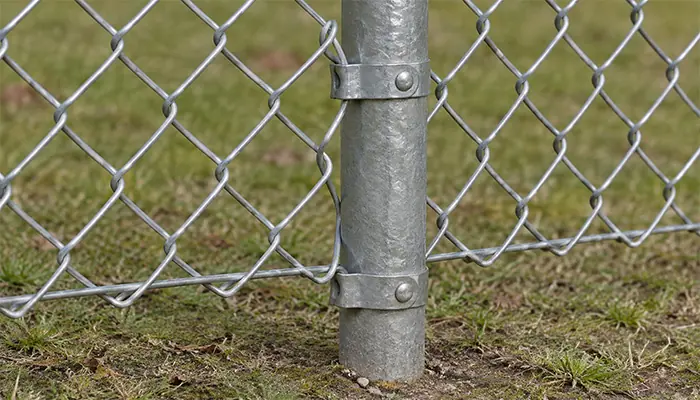
Step 3. Route the Wire Along the Existing Fabric
Uncoil the wire in a controlled manner and lay it out along the mesh. In a common arrangement, the finished wire sits between the mesh and the intermediate posts. If existing lower ties block that route, temporarily release only the affected ties and keep the rest of the fabric secured. Position the wire according to the system’s retrofit instructions before clipping it to the mesh.
Step 4. Tension the Wire and Secure the Far End
Use a suitable wire grip and puller or a compatible strainer where specified. Increase tension gradually until the wire is taut and follows the intended line. Keep people clear of the wire’s line of pull and possible recoil. Stop if a post moves, a fitting slips, or the wire kinks. Follow the tool instructions to release the load safely before correcting the cause.
Secure the far end according to the fitting instructions. If you used a temporary puller, unload it gradually and watch the end connection as it takes the load. Trim and turn back or otherwise secure any exposed wire tails as the system requires.
Step 5. Attach the Wire to the Chain Link Fabric
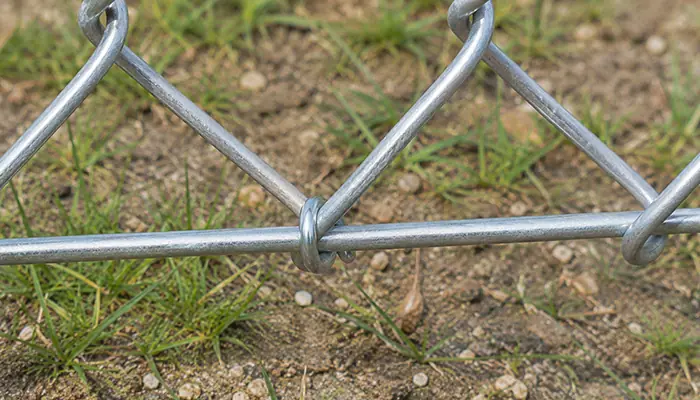
Use hog ring pliers to close each ring around both the bottom tension wire and a strand of the chain link fabric. Follow the project specification for ring size and spacing. Reinstall or replace any lower fence ties you removed and add line-post fastenings where the system specifies them. Check that the rings are fully closed and that they have not damaged the coating.
Step 6. Inspect the Wire, Mesh, and Gate Clearances
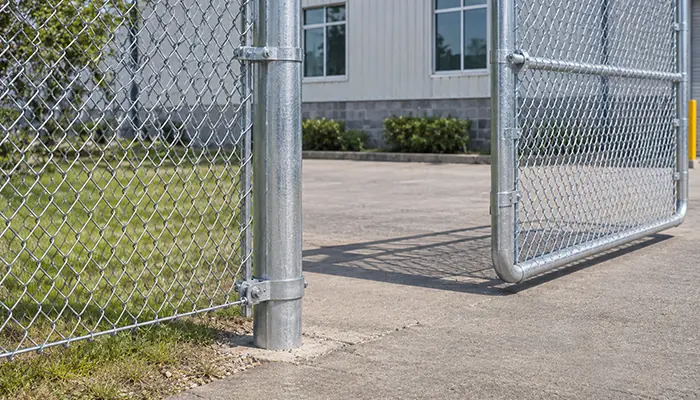
Walk the full run and look for sagging, missed rings, loose fittings, and exposed wire ends. Confirm that terminal posts have stayed in alignment and that gates open, close, and latch freely. Recheck the lower edge of the mesh and record any remaining ground gaps that need separate work.
How to Fix a Loose Chain Link Fence Bottom
- The wire sags after installation. Check the terminal fittings for slippage, the posts for movement, and the wire for damage. If only the mesh pulls away from a taut wire, check for missing or open hog rings.
- The whole fence fabric is loose. Inspect the end connections and confirm the condition of the fabric before deciding whether to restretch it or replace the affected section.
- The bottom still flexes more than the project allows. Check the wire and fastenings first. If the project calls for a stiffer lower edge, have the fence contractor evaluate a rigid bottom rail and suitable connections.
FAQ
Can you add tension wire to a chain link fence that is already installed?
Yes, if the terminal posts, bracing, and mesh are sound. Measure the runs, confirm the post sizes and bottom clearance, and choose fittings that suit the existing fence.
Should you weave tension wire through chain link mesh?
For the arrangement described here, run the wire along the lower edge of the fabric and connect it with hog rings. Use the attachment method specified for your fence system.
How high should bottom tension wire sit on a chain link fence?
Locate it from the bottom edge of the mesh using the fence detail. Check the required clearance between the mesh and finished ground separately, especially where the grade changes.
Can a wire tensioner tighten the whole chain link fence?
A compatible wire tensioner adjusts the bottom wire. When the fabric is loose across its height, inspect the terminal fittings and posts and assess whether the mesh itself needs to be restretched.
Will bottom tension wire close a gap under the fence?
It can reduce an opening that appears when the mesh lifts or bows. A fixed gap from erosion, uneven ground, or short fabric may require grading, deeper fabric, or another project-approved barrier. If animals are digging beneath the fence, assess a separate below-ground barrier.
Request a Quote for Chain Link Fence Components
For a retrofit, replacement order, or distributor stock inquiry, send YESON Wire Mesh the run lengths, fence height and finish, terminal post outside diameters, site photos or drawings, and required quantities. If the project specifies a wire diameter, coating, or fitting, include it so we can confirm component compatibility and availability.
 EN
 DE
 FR
 ES
 AR
 PT