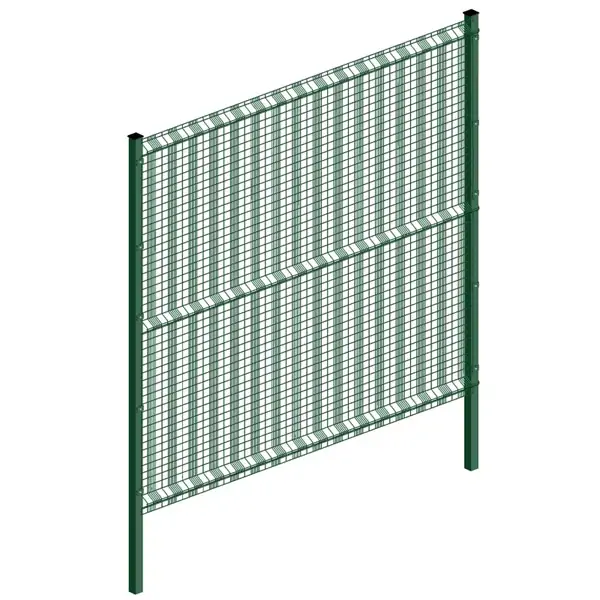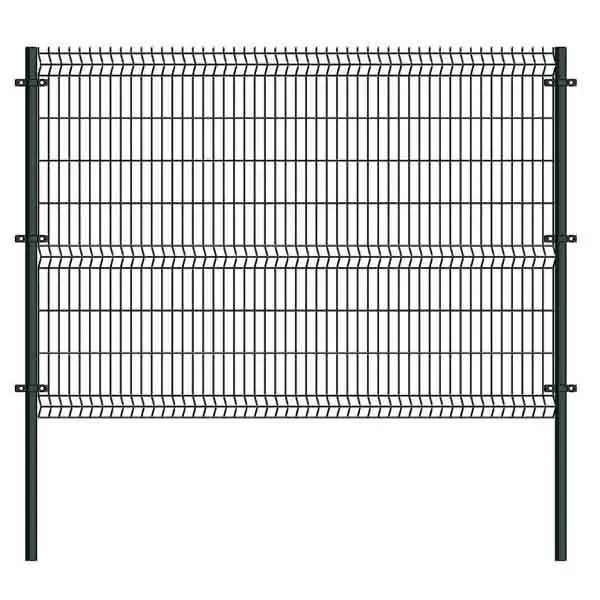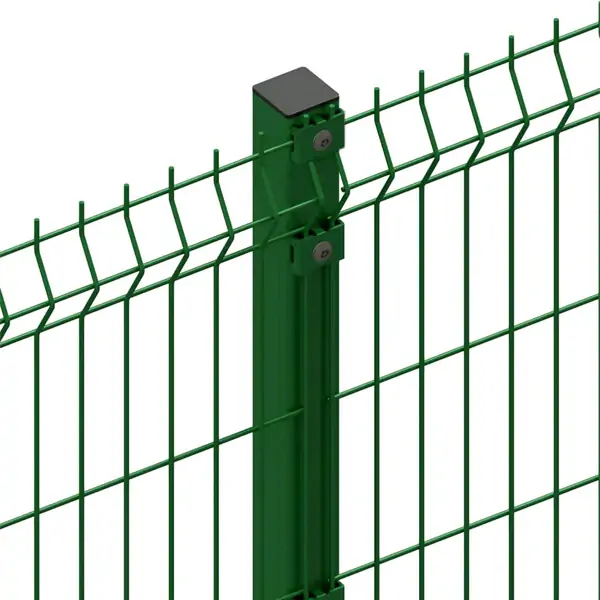
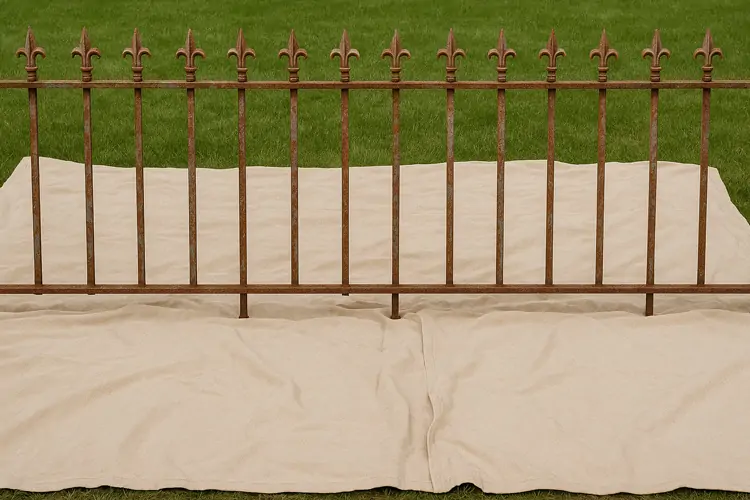
Wrought iron fences are timeless, elegant, and durable. But without proper maintenance, they can quickly fall victim to rust, fading, and weather damage. If you’re wondering how to paint a wrought iron fence to restore its beauty and longevity, you’re in the right place. This ultimate guide will walk you through everything you need to know—from preparation to the final coat—ensuring professional-quality results even for DIYers.
Why You Should Paint a Wrought Iron Fence
Protect Against Rust, Corrosion & Weather Damage
Wrought iron is prone to rust when exposed to moisture and oxygen. A good paint job acts as a protective barrier, shielding the metal from rain, snow, and UV rays, thereby preventing costly repairs or replacements.
Enhance Your Property’s Curb Appeal
A freshly painted fence instantly boosts your home’s visual appeal. Whether you prefer classic black or want to experiment with bold colors, painting allows you to match the fence with your property’s style.
Save Long-Term Repair Costs with Regular Maintenance
By maintaining a consistent painting schedule, you avoid expensive rust removal treatments and structural repairs down the line.
Common Challenges of Unpainted Wrought Iron
Neglecting regular maintenance can lead to deep corrosion, peeling paint, and an overall unsightly appearance, compromising both security and aesthetics.
When Is the Best Time to Paint a Wrought Iron Fence?
Ideal Weather Conditions
Paint adheres best when temperatures are between 50°F and 85°F (10°C to 29°C), with low humidity. Avoid painting during rainy, windy, or extremely hot days.
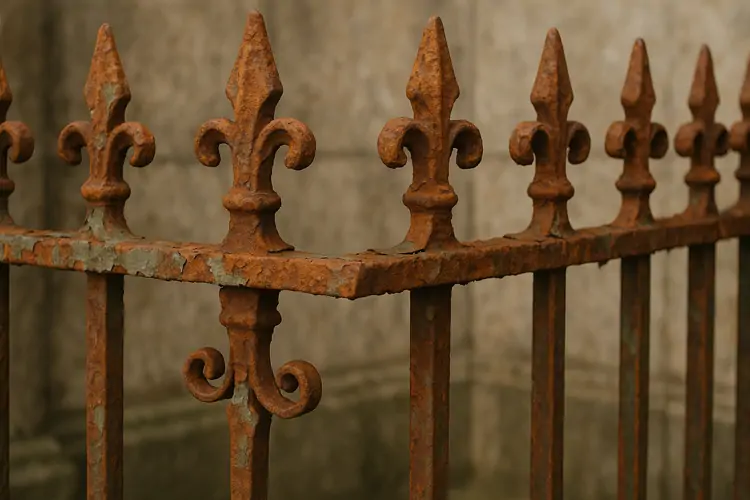
Signs Your Fence Needs a Repaint
Look for visible rust spots, flaking paint, faded colors, or chalky residue. These are clear indicators that it’s time for a new coat.
How Often Should You Repaint?
Typically, wrought iron fences should be repainted every 3-5 years, depending on local climate conditions and paint quality.
Pre-Painting Checklist: What to Know Before You Start
-
Assess the Condition of the Fence – Check for rust, loose paint, or structural damage.
-
Understand the Type of Metal – Ensure it’s wrought iron, not aluminum or steel.
-
Check the Weather Forecast – Pick a dry week with mild temperatures.
-
Check Local HOA or City Guidelines – Some areas have regulations on fence colors and materials.
-
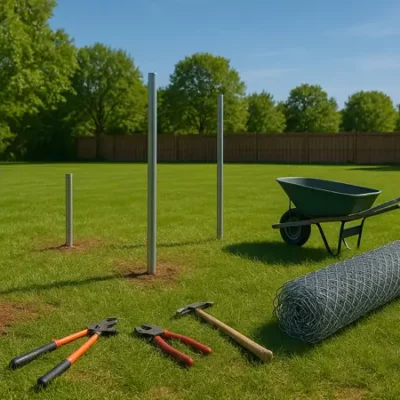
Gather the Right Tools and Supplies – Brushes, rollers, wire brushes, sandpaper, primer, rust-proof paint, drop cloths, painter’s tape, gloves, and safety goggles.
-
Plan for Safety and Time Management – Allocate enough time and wear protective gear.
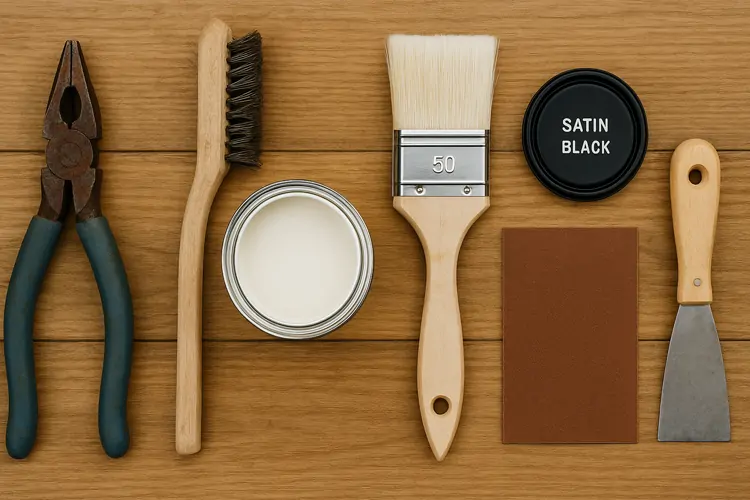
Tools & Materials You’ll Need
-
Wire brushes & sandpaper (medium & fine grit)
-
Rust remover or rust converter
-
Drop cloths & plastic sheeting
-
Painter’s tape
-
Metal primer (rust-inhibiting)
-
Exterior-grade metal paint
-
Paint brushes, rollers, and spray equipment
-
Safety gear: gloves, goggles, dust mask
Step-by-Step Guide: How to Paint a Wrought Iron Fence
Step 1: Prepare the Work Area
Clear plants and furniture around the fence. Cover the ground with drop cloths and mask nearby surfaces to avoid accidental splashes.
Step 2: Clean the Fence Thoroughly
Use soap, water, and a stiff brush to remove dirt, grime, and cobwebs. For heavy buildup, consider a power washer.
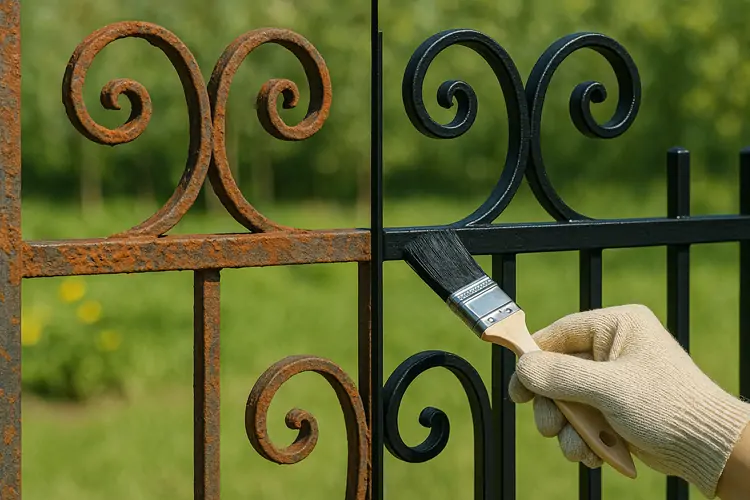
Step 3: Remove Rust and Loose Paint
Scrape off flaking paint and rust with a wire brush or grinder. Ensure the surface is smooth and free of debris.
Step 4: Apply Rust Converter (Optional)
For stubborn rust spots, apply a rust converter to chemically neutralize rust and prevent future corrosion.
Step 5: Mask Surrounding Areas
Use painter’s tape and plastic sheeting to protect walls, plants, and walkways.
Step 6: Apply Metal Primer
Choose a rust-inhibiting primer suitable for outdoor metal surfaces. Apply evenly and let it dry completely.
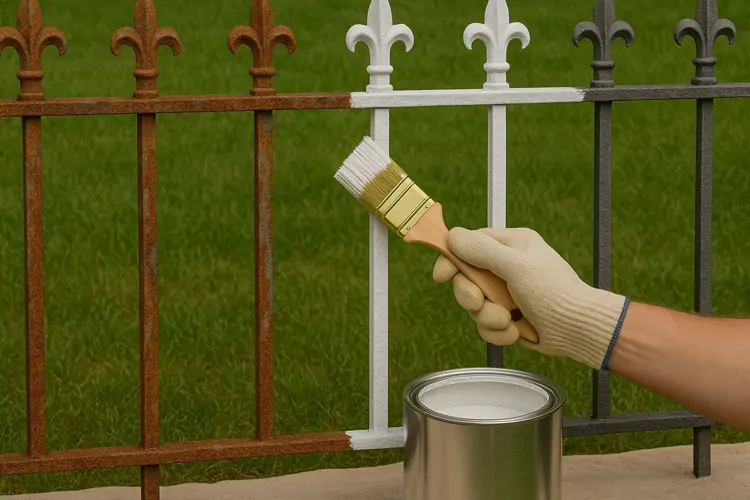
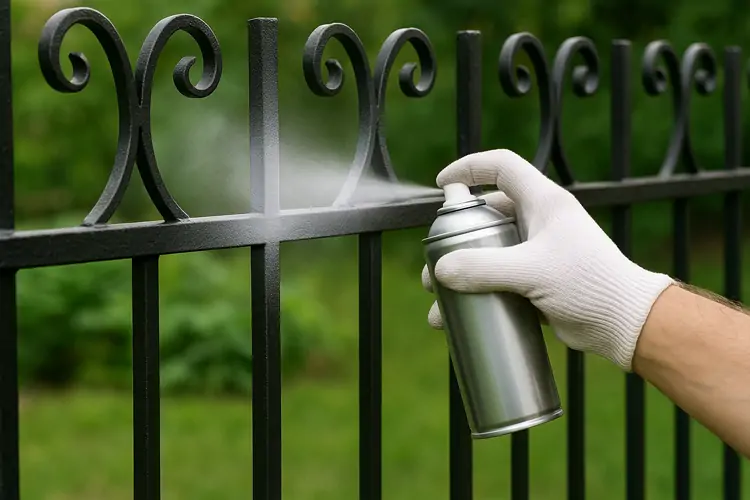
Step 7: Paint the Fence
-
Brush Application – Ideal for detailed work and small sections.
-
Roller Application – Efficient for flat surfaces and larger areas.
-
Spray Painting Tips – Provides a smooth finish but requires careful masking and even spraying from 8-12 inches away.
Step 8: Apply Second Coat and Inspect
After the first coat dries (usually 24 hours), apply a second coat for better coverage and durability.
How Much Paint Do You Need?
A gallon of paint typically covers 150-200 square feet. For a standard residential fence, you might need 1-2 gallons per coat. Don’t forget to factor in intricate designs which require more paint.
Best Types of Paint for Wrought Iron Fence
Oil-Based Enamel
Provides a durable, glossy finish and excellent rust protection.
Rust-Inhibitive Acrylic Paint
Water-based, easy to clean up, and environmentally friendly.
Epoxy-Based Paints
Highly durable, best for industrial or high-traffic areas.
Aerosol Spray Paints (Pros & Cons)
Convenient for touch-ups but can be less durable than brush-applied coatings.
Water-Based Paint (When to Avoid)
Suitable for mild climates but less resistant to harsh weather compared to oil-based options.
Do You Need Primer for Wrought Iron Fence?
Absolutely. Primer enhances paint adhesion, seals the metal, and provides an additional layer of rust protection. Skipping primer significantly reduces the lifespan of your paint job.
Common Mistakes to Avoid When Painting Wrought Iron
-
Painting over rust or dirty surfaces
-
Choosing the wrong paint type (indoor paint for outdoor use)
-
Ignoring weather conditions
-
Applying thick coats instead of multiple thin layers
-
Rushing the drying process between coats
Post-Painting Maintenance Tips
-
Inspect your fence bi-annually for rust or peeling.
-
Clean with mild soap and water regularly.
-
Address small rust spots immediately with touch-up paint.
-
Repaint every 3-5 years based on environmental exposure.
DIY vs Hiring a Professional Painter
| Aspect | DIY | Professional |
|---|---|---|
| Cost | Low (tools & paint) | Higher upfront |
| Time | Labor-intensive | Faster turnaround |
| Quality | Depends on skill | Professional finish |
| Best For | Small fences, DIY enthusiasts | Large areas, intricate designs |
If your fence has significant rust damage or complex patterns, professional help might be the smarter choice.
Get in Touch with YESON for Custom Wrought Iron Fencing Solutions
Thinking of upgrading your property with a beautiful, durable wrought iron fence? At YESON, we specialize in custom-designed wrought iron fences with professional-grade finishes. Contact us today for a free consultation and quote.
Conclusion
Painting a wrought iron fence might seem daunting, but with the right preparation, tools, and patience, it’s a rewarding DIY project. By following this guide, you’ll not only protect your fence from the elements but also enhance your property’s curb appeal for years to come.
FAQs
Can I paint wrought iron without sanding?
Technically, yes—but it’s not recommended. Sanding ensures proper adhesion and longevity.
How long does wrought iron paint last?
A well-done paint job can last 3-5 years, depending on environmental exposure.
Should I use rust converter before painting?
For heavily rusted areas, a rust converter adds an extra layer of protection.
Can I use spray paint on an entire fence?
Yes, but it requires multiple coats and precise application for durability.