Installing a chain link fence may seem intimidating, but with the right tools, materials, and guidance, it’s a project that most DIYers or property managers can successfully complete. This complete guide will walk you through every step with helpful tips, image placement suggestions, and cost-saving advice to help your installation go smoothly.
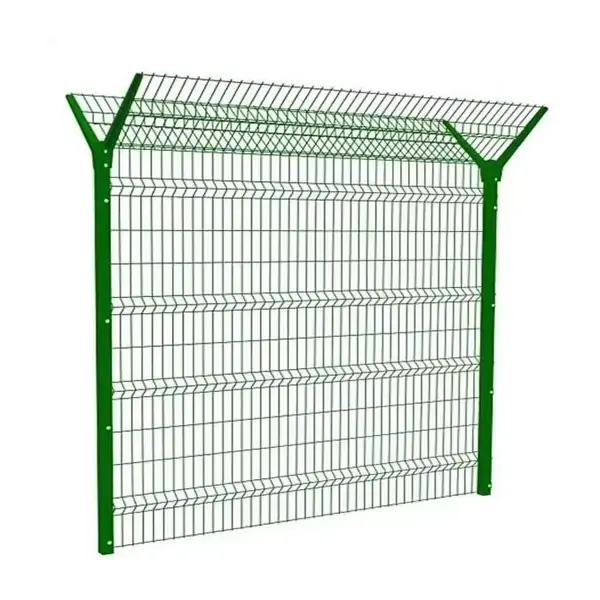
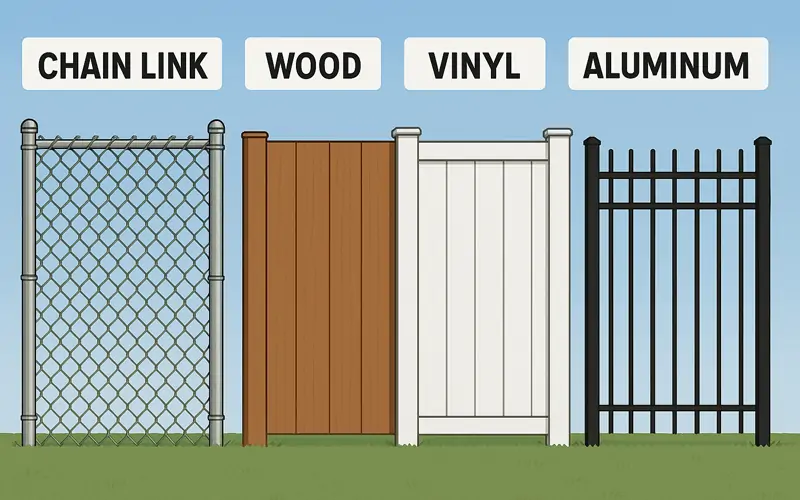
Why Choose Chain Link Fencing?
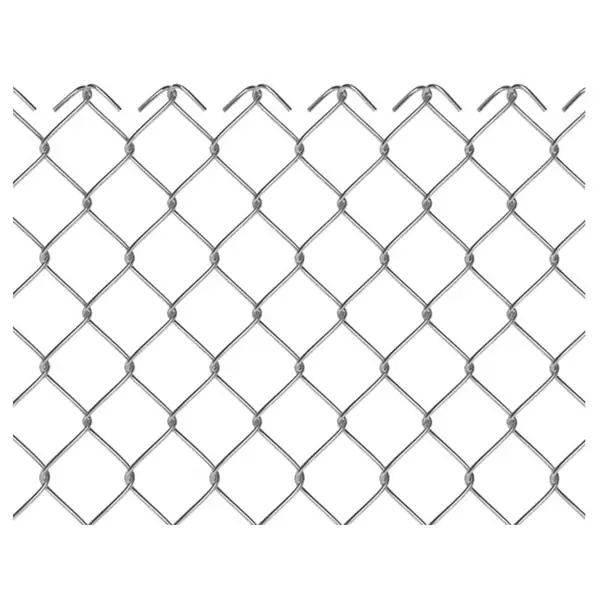
Chain link fences are one of the most versatile and cost-effective fencing options on the market. Whether you’re securing a backyard, industrial site, or sports facility, they offer durability, transparency, and minimal maintenance.
Advantages include:
-
Affordable cost
-
Long lifespan with galvanized or PVC coating
-
Easy installation
-
Great for pets, security, and boundary marking
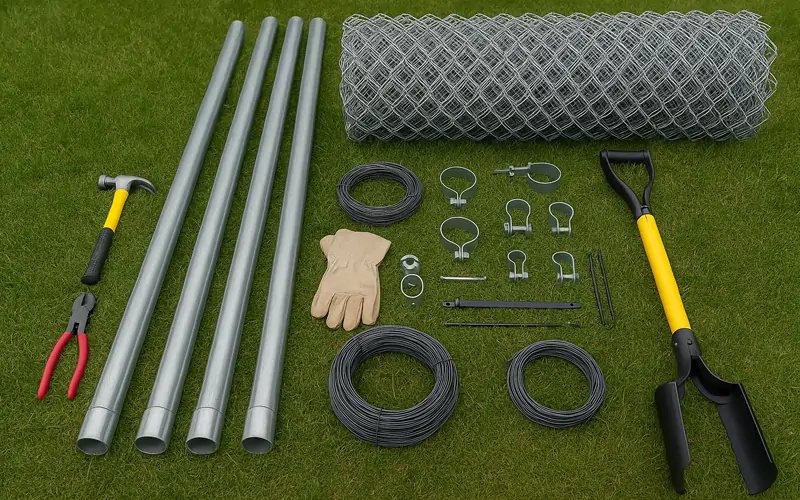
Tools and Materials You’ll Need
Before you start, gather all necessary materials and tools to prevent mid-project delays.
Essential tools:
-
Tape measure
-
Level
-
Post hole digger or auger
-
Fence stretcher or come-along
-
Wrenches, pliers, and socket set
Materials checklist:
-
Chain link fabric
-
Line, corner, end, and gate posts
-
Top rails and tension wire
-
Tension bands, brace bands, post caps
-
Concrete
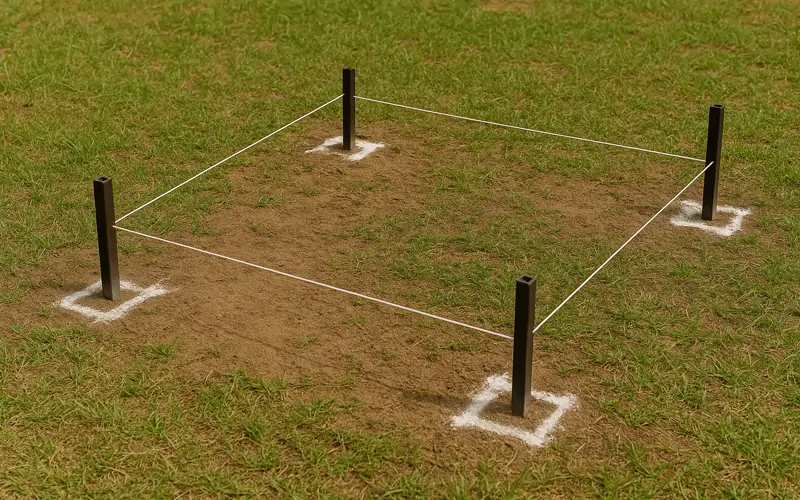
Measure Your Fence Line and Mark Post Locations
Use stakes and a string line to outline your fence perimeter. Measure carefully and mark each post location at regular intervals (typically every 6 to 10 feet).
Tips:
-
Mark gate locations clearly
-
Use spray paint or pegs
-
Check for straight lines and right angles
Dig Post Holes and Set Your Posts
Using a post hole digger or auger, dig holes approximately one-third the height of your posts. Add gravel at the base and fill with concrete.
General specs:
-
Depth: 24–36 inches
-
Width: 6–8 inches
-
Set corner and end posts first
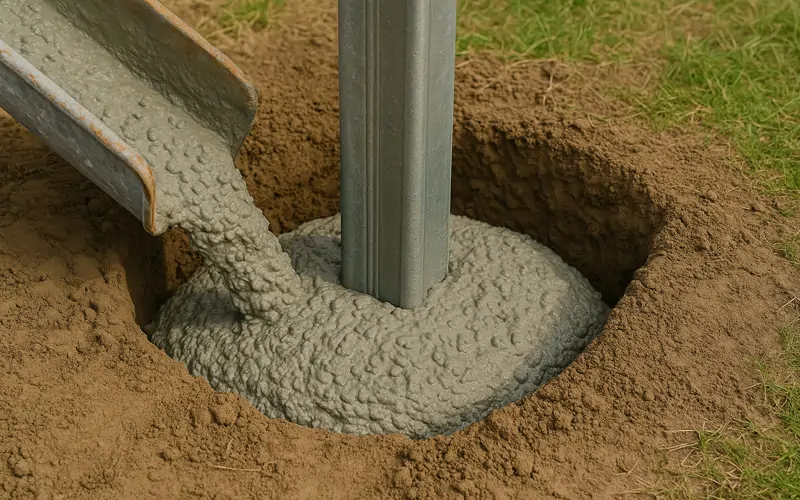
Let concrete cure for at least 24 hours before continuing.
Install Post Fittings and Top Rails
Once your posts are firmly set:
-
Attach tension bands and brace bands to terminal posts
-
Slide top rails through loop caps on line posts
-
Connect to terminal posts using rail end cups
-
Secure tightly with bolts
This top rail will act as a support backbone for your fence.
Unroll and Position the Chain Link Fabric
Lay your chain link fabric along the fence line. Be sure it runs flush with the ground.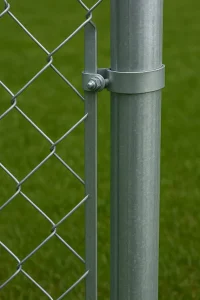
-
Insert a tension bar vertically into the end of the mesh roll
-
Attach it to the terminal post via the tension bands you installed earlier
Stretch the Chain Link Fabric
To ensure your fence is tight and professional-looking, use a fence puller or come-along tool to stretch the fabric.
-
Connect puller to temporary tension bar inserted 3–5 feet from the end
-
Pull until the fabric is taut and wrinkle-free
-
Insert a new tension bar into the end section and attach to terminal post
Tie the Fence Fabric to Posts and Rails
Use fence ties or aluminum wire to attach the mesh securely: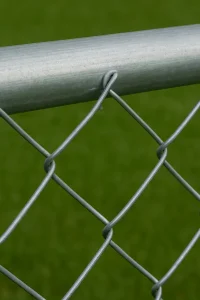
-
Every 12–24 inches along top rails
-
Every 12 inches on each line post
-
Tighten enough to hold mesh but avoid damaging the coating
Install Tension Wire (Optional but Recommended)
Run a tension wire along the bottom of the fence line to prevent sagging and discourage animals from pushing under.
-
Attach to brace bands on end posts
-
Use hog rings to secure mesh to wire every 12–18 inches

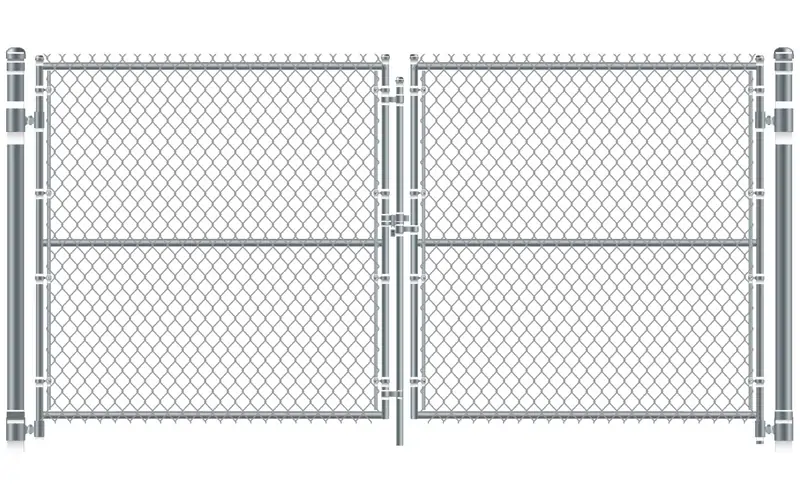
Add Your Chain Link Fence Gate
Install the gate after the fabric is fully stretched and secured.
Steps:
-
Attach gate hinges to gate post
-
Mount gate panel and ensure it swings freely
-
Install and align latch mechanisms
-
Test for proper operation
Finishing Touches and Inspection
Inspect the entire fence for:
-
Proper tension and alignment
-
Tight connections at posts and rails
-
Any loose ties or fittings
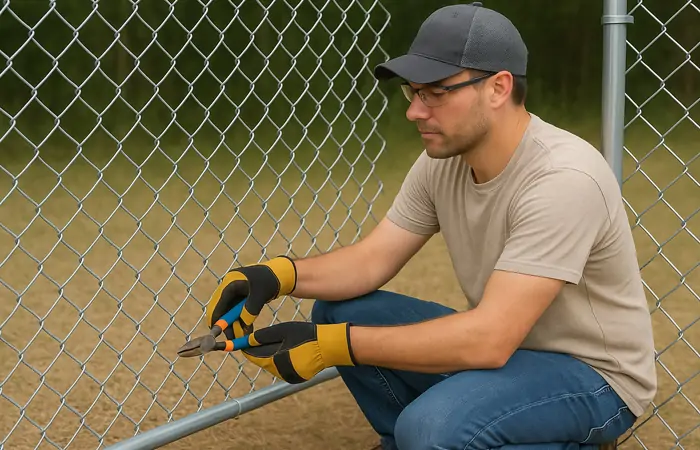
Trim any excess mesh using bolt cutters. Add post caps, privacy slats, barbed wire, or signage as needed.
Installing Chain Link Fence on Uneven Ground (Optional Section)
For sloped or uneven terrain, you can use one of two installation techniques:
Option 1: Stair-Step Method
Install fence panels in horizontal steps down the slope. This method is simpler but may leave gaps.
Option 2: Follow the Contour
Align the fabric along the ground’s slope. This method requires more stretching but provides a seamless look and no gaps.
Maintenance Tips to Extend Fence Life
-
Check tension wire and fabric annually
-
Re-tighten or replace ties if loose
-
Re-coat rust spots on galvanized parts
-
Oil gate hinges yearly
Cost Breakdown for DIY vs Professional Installation
| Item | Cost Range (Per Linear Foot) |
|---|---|
| Chain Link Fabric | $3 – $6 |
| Posts and Hardware | $2 – $5 |
| Concrete and Tools | $1 – $2 |
| Total DIY Installation | $8 – $15 |
| Professional Installation | $15 – $30 |
Common Mistakes to Avoid
-
Not checking for underground utilities
-
Uneven post spacing or depth
-
Insufficient concrete curing time
-
Inadequate mesh tension
-
Forgetting the tension wire
Conclusion: Build Your Chain Link Fence with Confidence
Installing a chain link fence is not just about securing your property—it’s about investing in a long-lasting, low-maintenance solution. With proper planning, the right tools, and this detailed guide, you can take on the project yourself and save money in the process.